


In general, a student will achieve their private pilot license anywhere from 40 to 44 hours. However, they achieve it at their own pace, with patience & confidence. It’s been a while since the last time I updated about flying in Hm Aerospace. It’s been 6 months since I started my first familiarization flight with Capt Dihan back on the 10th of December 2019.
Whats Private Pilots License? Designed for flying enthusiasts, the Private Pilot’s Licence (PPL) is an entry-level course that equips you with foundation skills to pilot a single piston-engine aircraft with confidence. Only day flying is allowed & usually applied by pilots for recreational flying.
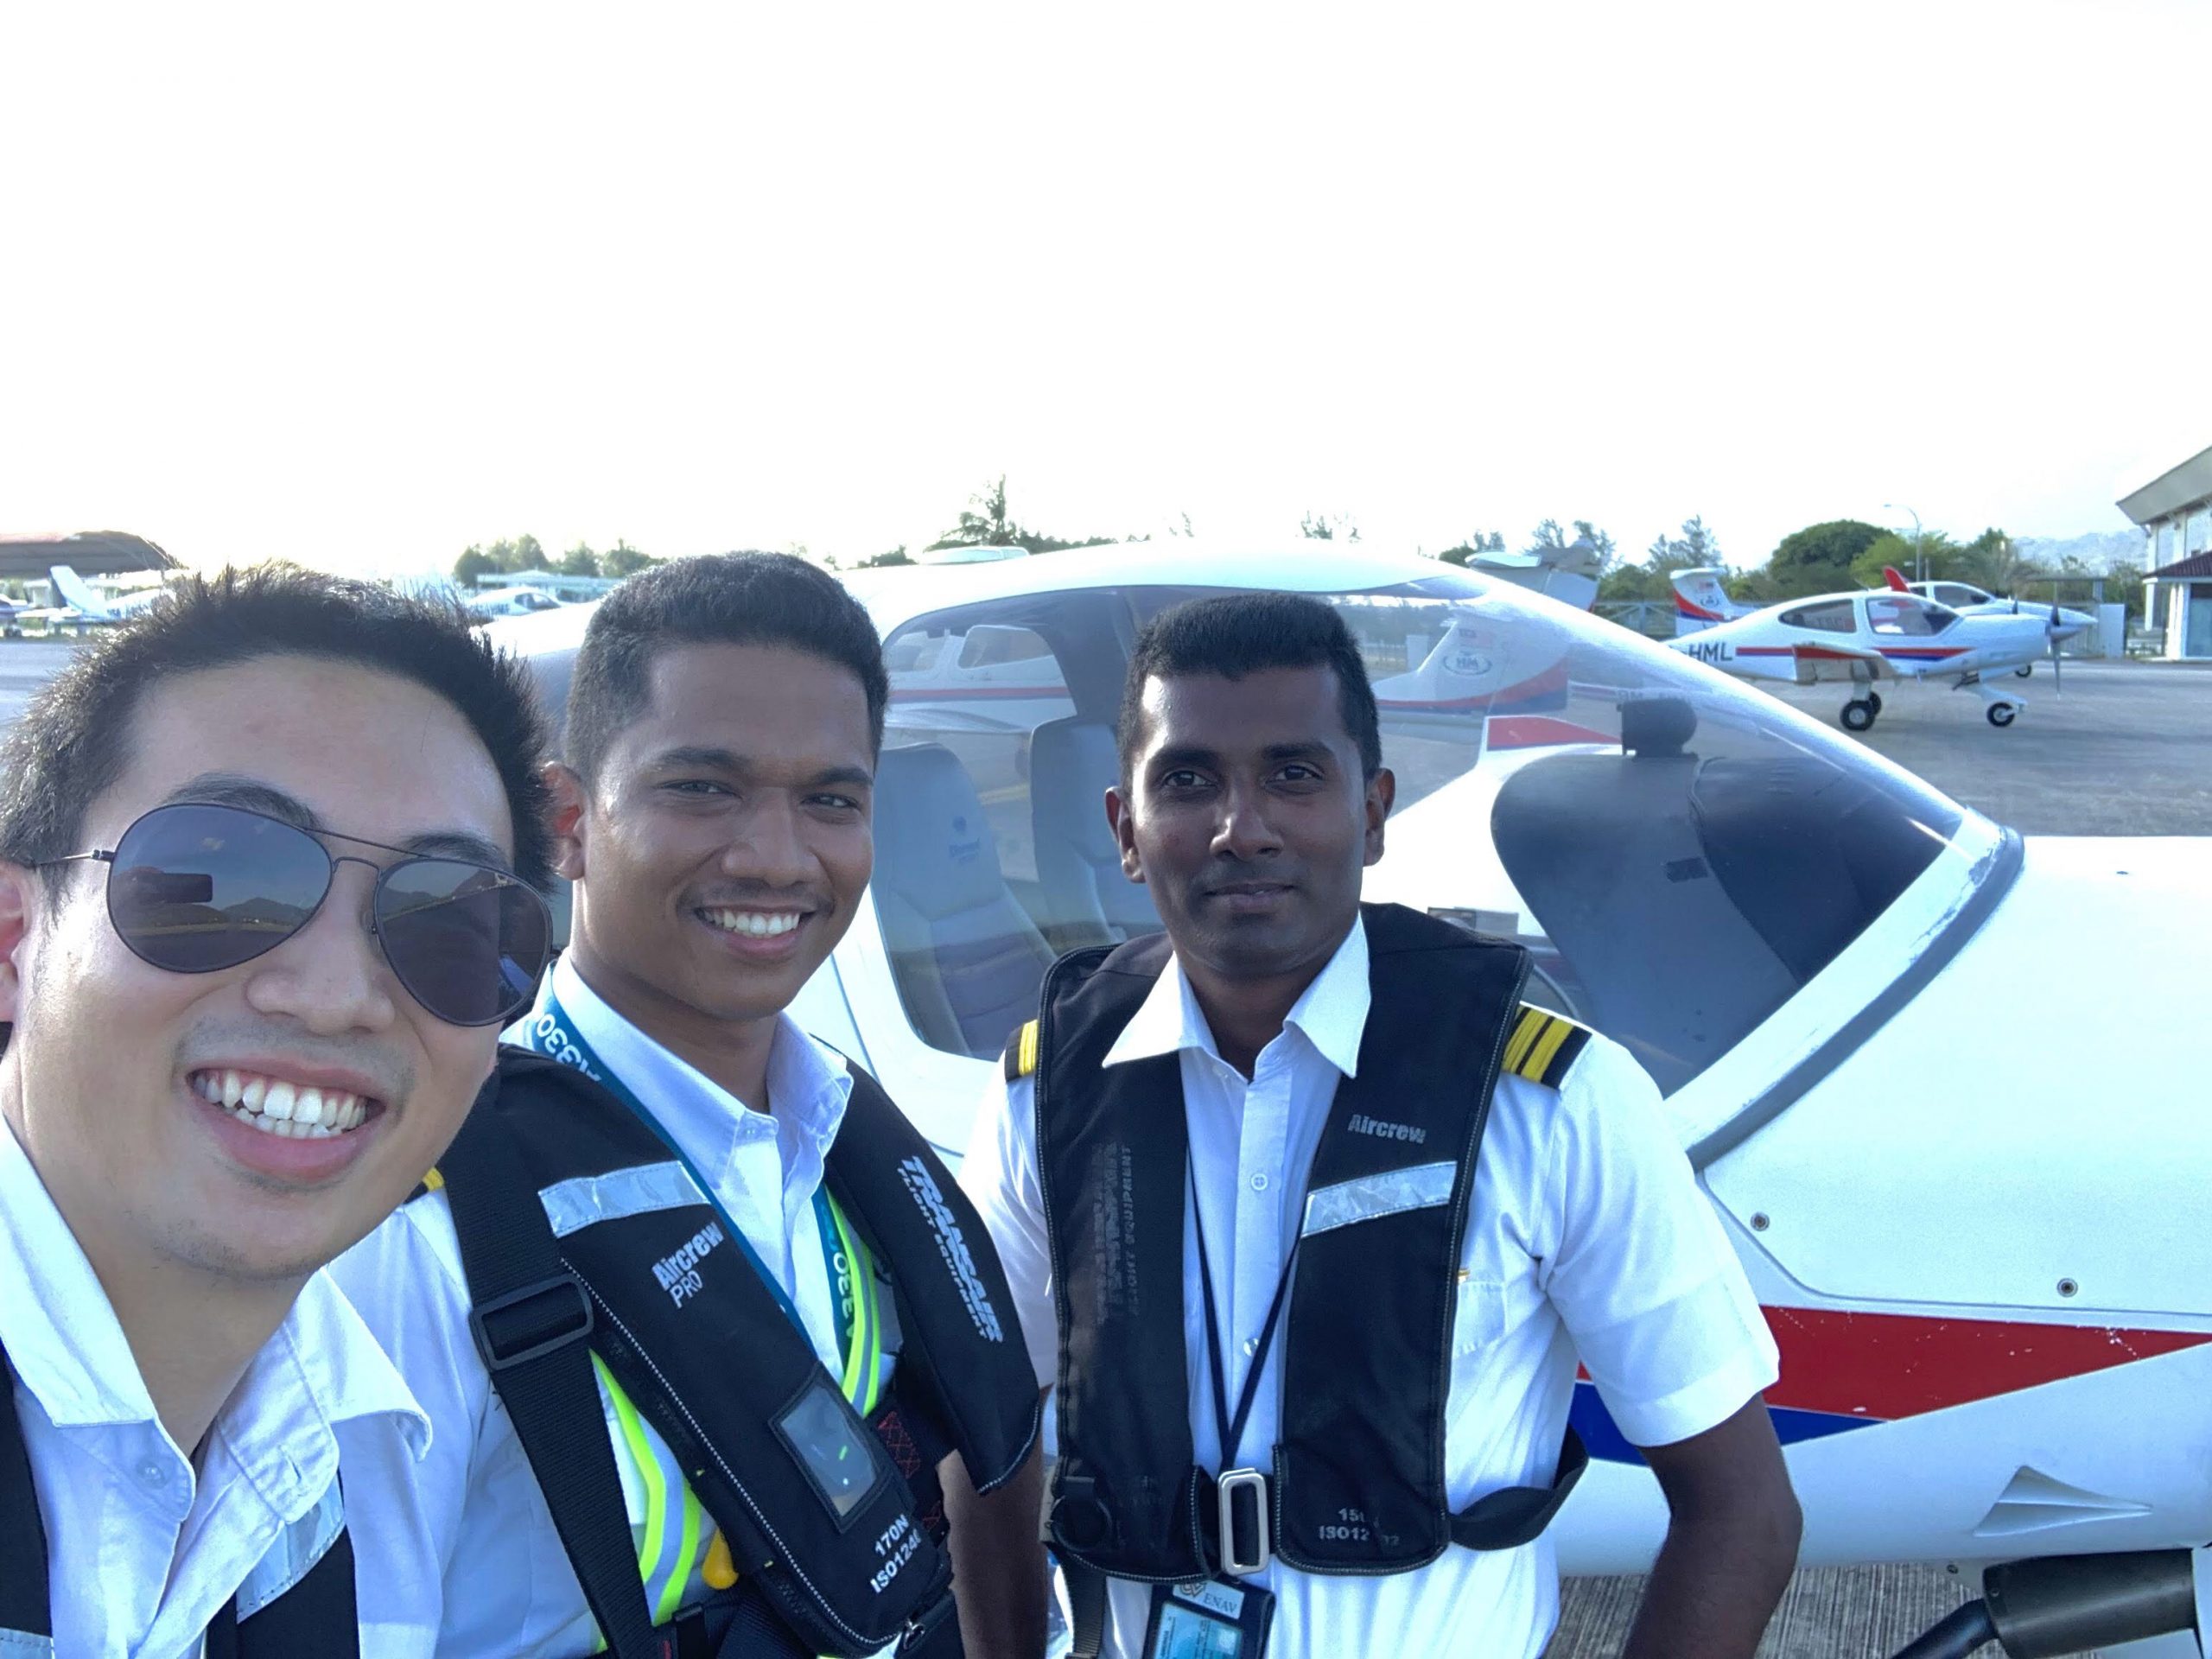
With Capt Dihan, & Wilson
First, how is the flying progress in Hm Aerospace? To be honest, HMA is currently one of the fastest compared to other flying schools with a sufficient number of instructors and fleet size. Approximately 9 single-engine aircraft and 5 twin-engine aircraft. Clocking from 25-30 hours per month is pretty extraordinary.
After many flights out and about in our training base in Langkawi Airport, & Terengganu Airport finally it was time for me to crack the PPL test. But what will be tested and how will it be analyzed by the flight instructor. Initially, my batchmates & I were planned for the test back in March. Unfortunately, everything had to be put on hold due to Covid-19 Movement Controlled Order.
If you have not entered the flying phase yet, you might want to listen closely! So you’ve completed your Airline Transport Pilots License theory exam and you’re ready for your flight test to be arranged after 45 hours? The CAAM-approved testing instructor will sit on the right-hand passenger seat to evaluate whether if you are qualified for the private pilot’s license. It may seem daunting, but don’t stress, going for and passing your private pilot license flight test really isn’t as scary as you make it out to be. My flight test was conducted by Capt Naveed on the 10th Of June 2020.
My progress test was pretty smooth. Just some minor mistakes that could be corrected after a few more hours of flying. Otherwise, the whole test experience was amazing. Remember if you mess up the private pilot test, it’s not the end of the world. There is always room for mistake and you will be always able to have another crack.
In-flight, your testing instructor simply wants to see how you can demonstrate the following:
1. Shallow turns
Shallow, level turns are those in which the bank angle is less than 20 degrees. They are characterized by almost imperceptible increases in G-load, and the natural stability of many airplanes tends to roll the wings back to level. Coordinated shallow turns are usually applicable during climbing or descending turn, in order to maintain the right amount of lift. Small changes in elevator inputs during shallow turns have a minimal effect on the G-load experienced.
2. Medium Turn ( 180 Degree Turn)
Medium, level turns are those in which the bank angle is between 20 and 45 degrees. They are characterized by slightly higher, yet relatively small G-loads. The inherent stability of many airplanes holds the bank constant. We start these turns just like shallow turns: aileron and rudder pressures together, back pressure on the stick to curve the flight path. “Bank, Balance, Back Pressure”. Once the bank is achieved the aileron input must be neutralized.
The rudder and elevator input is adjusted accordingly. According to one of the instructors, you should be able to release the control column once the aircraft is perfectly trim. Diamond 40 is a very stable and light plane. Before every turn is initiated the aircraft should be cleared from other traffic in the pattern or training area. If its left turn we start from ” Right Clear, Front Clear, Left Clear”.
3. Steep Turn ( 360 Degree Turn)
Steep turns are those in which the bank angle is greater than 45 degrees. They are characterized by noticeable G-loads, which grow rapidly with increasingly steeper bank angles. Many airplanes tend to over bank in the direction of steep turns because the outside wing travels faster than the inside wing, thus generating slightly greater lift.
4.Rate One Turn (180-degree Turn)
Make a 180-degree turn by referring to the turn and slip indicator. At a rate of 3 degrees per second. the student should be able to complete 180-degree turn within 60 seconds.
5.Straight Climb & Descend
Climb
In a climb, the aim is to maintain a constant speed and direction, and to do so the aircraft must be in equilibrium. In this lesson, the relationships between the four forces in the climb are used to show that the aircraft remains in a state of equilibrium when it is climbing. The Vy is used to maintain the best rate of climb speed which is 80kts for Diamond 40.
Power + Attitude = Performance
PAT
P-Power
Smoothly increase power (while stopping the yaw with rudder) to full power or maximum continuous; keep straight using the reference point.
A-Attitude
With the elevator, select and hold the attitude for the nominated climb, maintaining wings level with aileron and balance with the rudder.
T-Trim
Remove excessive loads by trimming back. Once the performance has been confirmed, trim accurately to maintain a constant attitude.
Descend
In a descend, the standard descent rate should be 500 ft/min. With a power setting of 40%. Perfectly trim and the plane descends 500ft/min on its own. Equilibrium is required for a steady descent. If, whilst in level flight, the power is removed there will be no force balancing the drag. Therefore in order to maintain the flying speed, the nose must be lowered.
APT
A-Attitude + P-Power
With the power reduction, the nose will want to pitch down, with the elevator, hold the level attitude until the nominated descent rate is almost reached. Maintain wings level with aileron and balance with the rudder.
T-Trim
Remove excessive load by trimming (usually backward) and once the performance is achieved, trim accurately to maintain a constant attitude.
6. Stalls
The purpose of this practice is to allow the pilot to recognize if the aircraft is in a stall by feel, sight, and sound. And prompt the pilot to take the preventive or corrective action to recover from a stall. There are 4 types of stall:
- Clean Stall– Power-on stalls mimic departure configurations throughout takeoff and climb. With the close to full engine power, you’ll pitch up higher than a power-off stall before you reach the critical angle-of-attack. The stall horn alerts and the aircraft enter heavy vibration (buffet) indicating that it’s going to enter a spin.
- Dirty Stall – Similar to clean stall but the aircraft is configured with landing flaps configuration.
- Approach Configuration Stall – Power-off stalls mimic descent, approach, and landing, with engine power at idle. Recovery practice should emphasize minimal loss of altitude due to these kinds of stalls occurring close to the ground during the approach. This stall is recovered once the stall horn alerts.
- Base Turn Stall– As load factor increases, so does stall speed. Accelerated stalls happen during steep turns or sharp pitch attitudes, where the airplane is placed into an unusually high angle of attack. Remember that your plane can stall at any speed, and at any pitch attitude, as long as it exceeds the critical angle of attack.
7.Instrument Flying (IF)
Instrument flying is basically flying the plane without visual to the outside reference. With a hood, you will be required to demonstrate medium turns, steep turns, level rate one turn, clean stall, straight climb, and descent. It is actually a simulation of yourself flying inside a very thick cloud where the pilot won’t be able to get the outside reference.
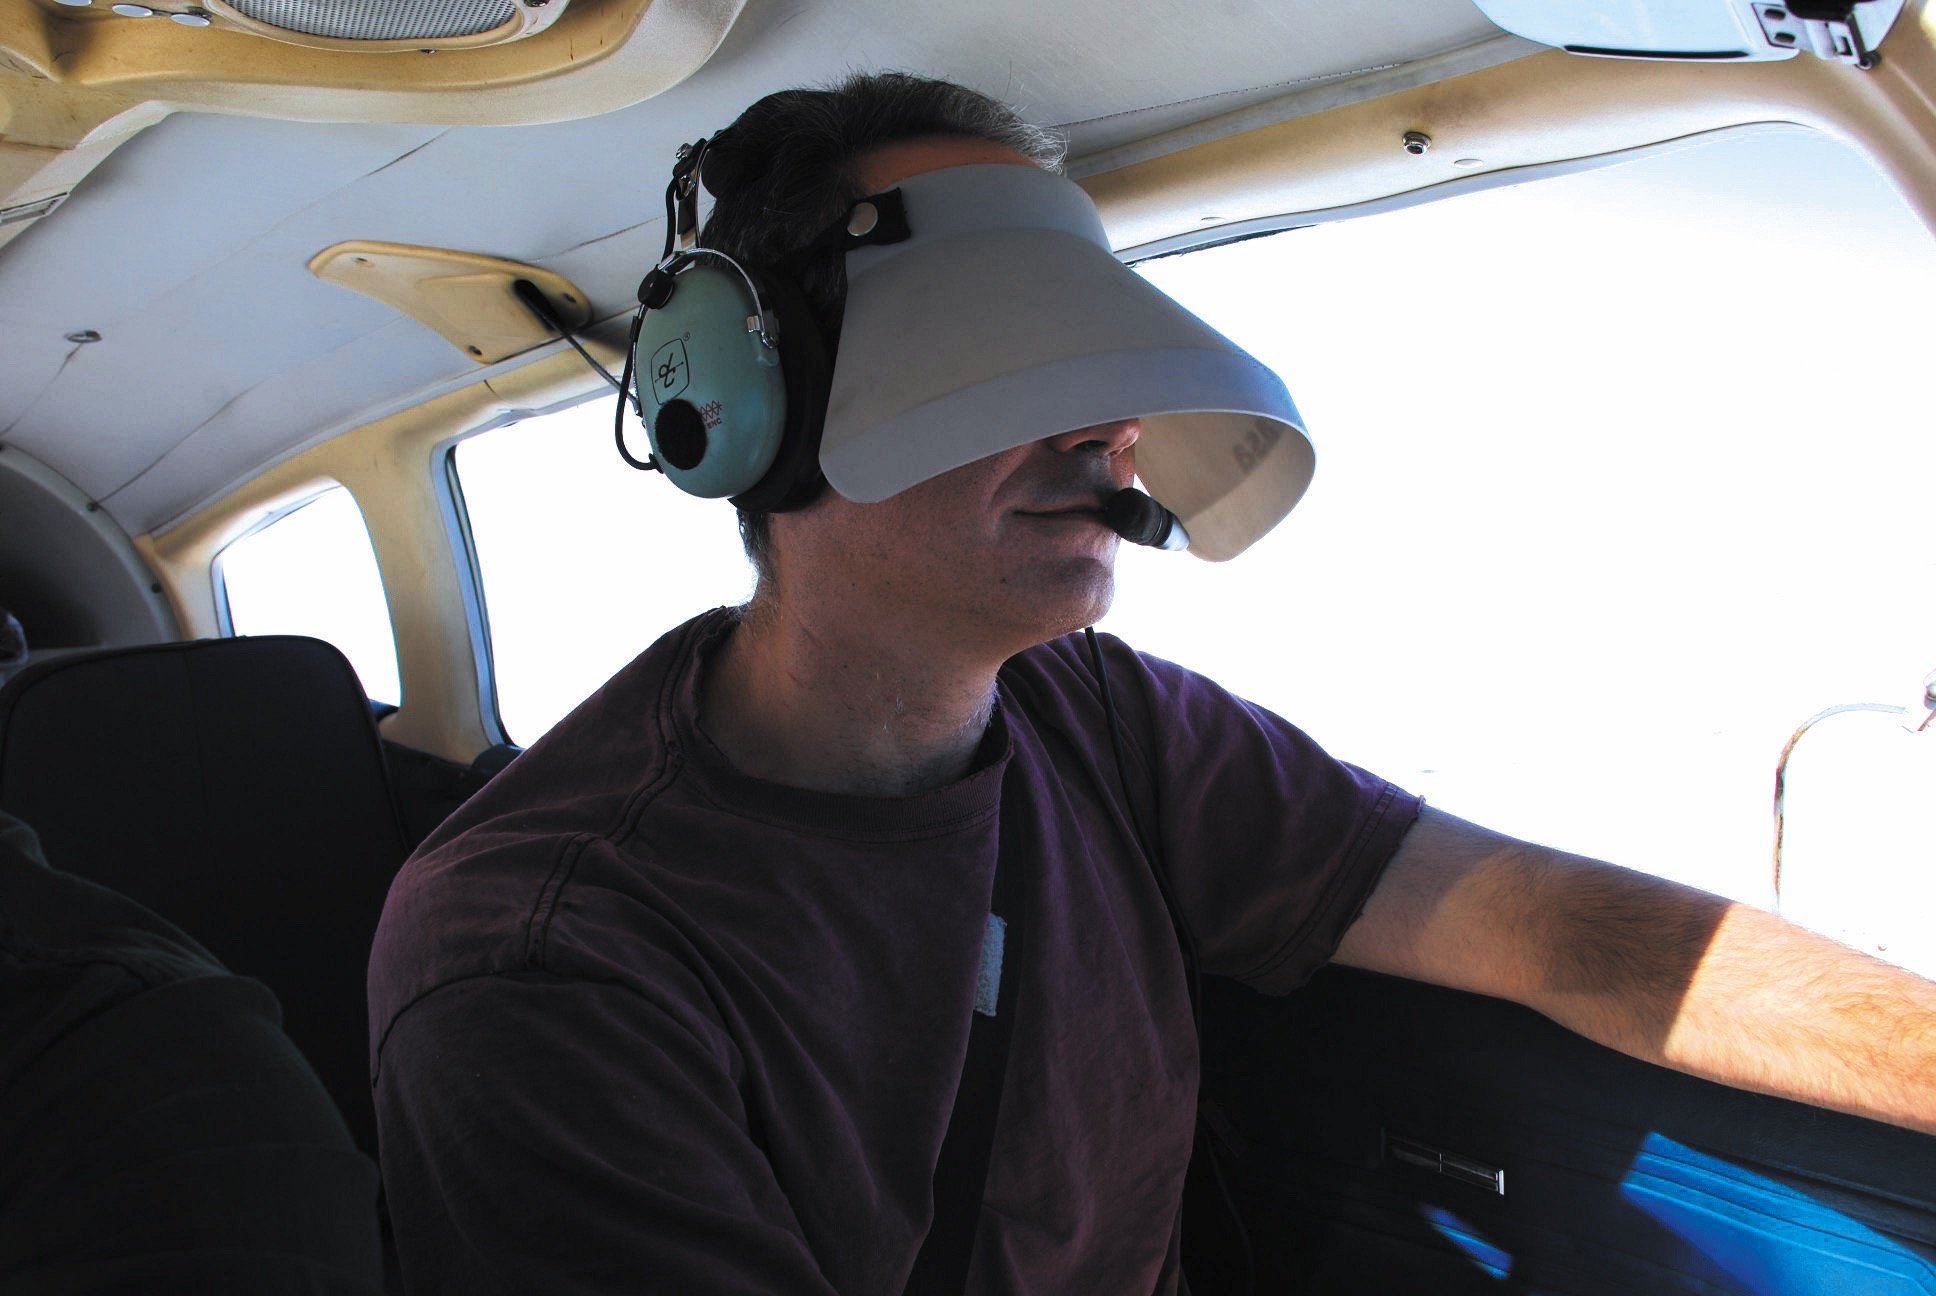
the pilot flying with hood
8. Emergencies
As a pilot, you should always anticipate any possible failures. For example, during flight what if one of the instruments does not respond, the radio or the engine fails. So we should be able to demonstrate all the emergencies and it should be running in your blood. Till now I revise all the emergency procedures weekly. Types Of emergencies:
- Practiced Forced Landing: An integral part of flying—and your responsibility—is to be prepared for anything when the engine fails. To make a forced landing successfully, maintain control of the aircraft, and select a suitable field. It is important to carry out all emergency checks. Conduct the passenger brief and mayday call, and always make sure to reassure the passengers that you are a trusted pilot and have been trained to handle emergency situations.
- Engine Failure After Take-Off (EFATO) – Take off is a crucial part of flying. Anything can happen before you reach the desired altitude. So you must be able to land the plane safely back to the runway or any nearest open field by carrying out EFATO checks.
- Radio Failure – To carry out proper emergency checks and maintain control of the aircraft maintain visual and able to decode signals from the control tower. Although the complete loss of communication is an extremely rare event due to duplication of equipment. But the whole electric system could fail.
- Brake Failure – The practice is required to simulate if one of your brakes fails and there’s an obstacle ahead of you
- Aborted Take-Off – In the case, you decided abort take-off and vacate the active runway.
9. CIRCUITS
The final part of passing your Private Pilot Licence flight test will have you demonstrate how to fly an oval or squared circuit pattern and control your speed and altitude when doing so. Make sure you can also land the plane with different approach configurations, and manage engine failure after take-off and in the circuit. All 4 landings will be tested
- Normal Landing – Full Flaps Configuration ( 1000 feet).
- Flapless Landing -Slightly higher approach speed to get better penetration speed & maneuverability during windy or gusting environments ( 1000feet).
- Low Level – Landing from a lower height of 500 feet due to poor visibility.
- Short Approach – Landing with power off. Also known as a glide approach.
Remember your inbound radio calls as you return to Langkawi/Terengganu Airport’s control zone, and congratulations, you’ve completed the test.
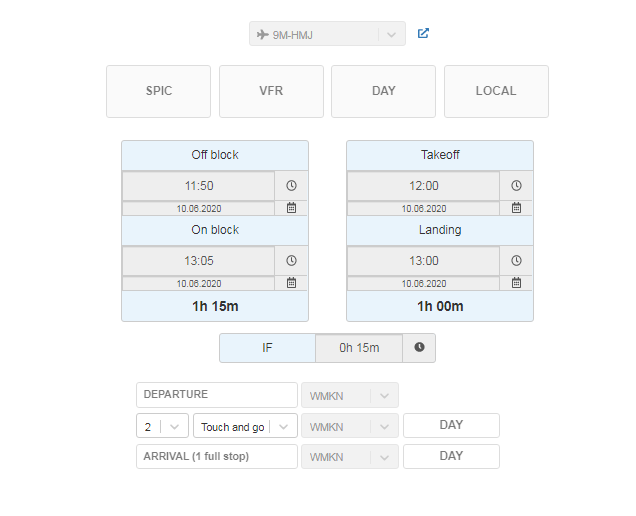
Summary of my flight